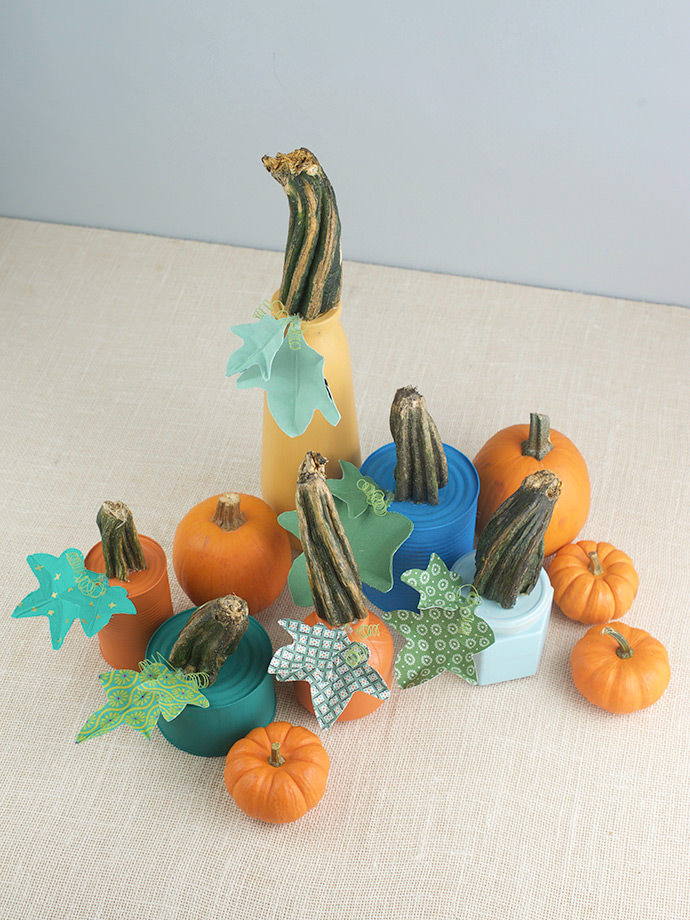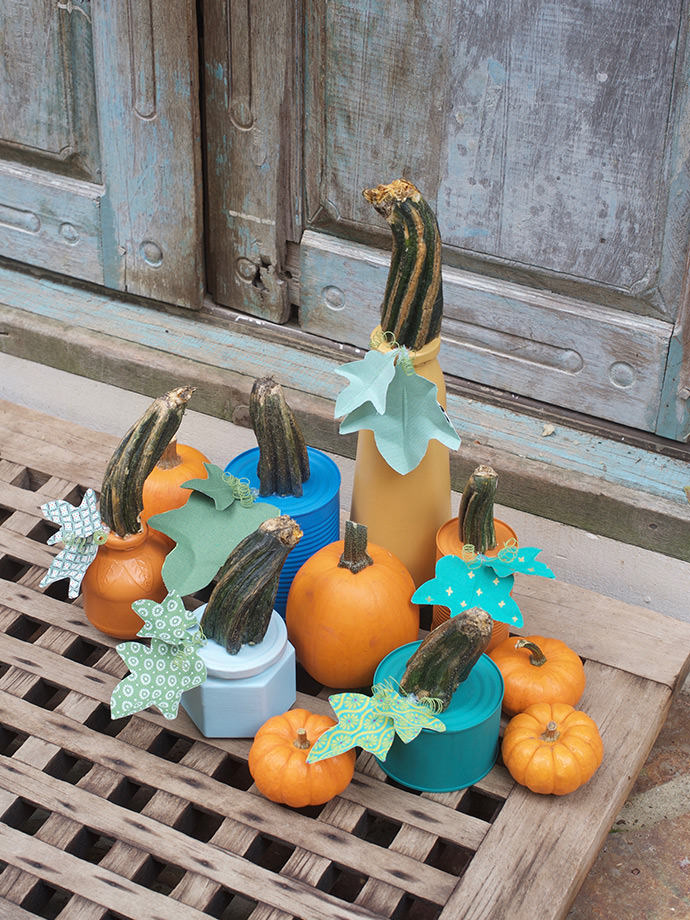
Halloween is just around the corner, which means that fall decorating is well underway at the Faucett household! But there’s little more upsetting than having to toss out your seasonal decorations each year when the season draws to a close, especially pumpkins -it breaks my heart to have to toss them out each year before Thanksgiving. That’s why I particularly love this project: not only do these “pumpkins” last year after year, but they’re the result of some clever up-cycling! Scan your home for empty cans and jars from your kitchen and turn them into flashy, hand painted pumpkins. Whether it’s a tiny bottle of apple juice, a can of beans, or a jar of pickles, you can transform your up-cycled goods into beautiful “junktique” pumpkins with just a few simple materials!
What You Need
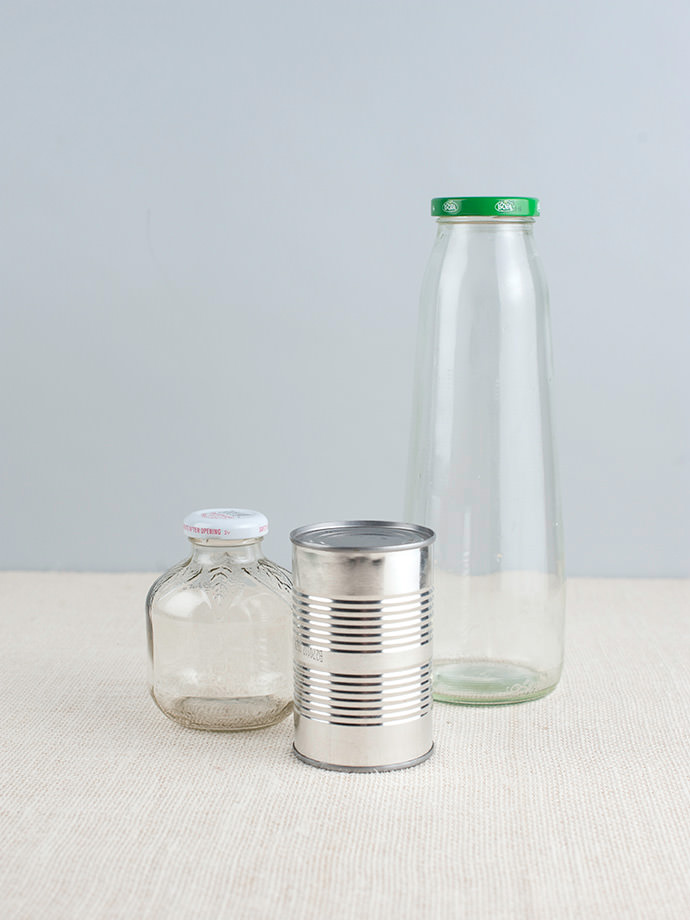
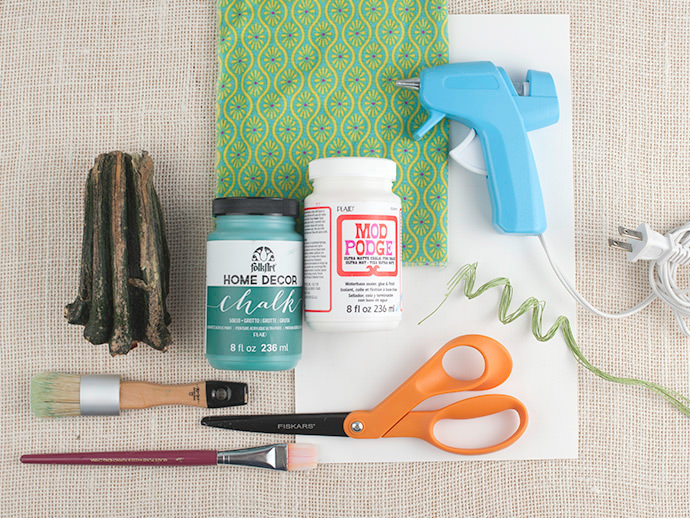
- Empty cans and/or glass bottles
- Pumpkin stems
- FolkArt Home Decor Chalk Paint
- FolkArt Chalk Paintbrush
- Mod Podge Ultra Matte Chalk
- Scissors
- Fabric
- Cardstock
- Glue gun
- Wire stems
How To
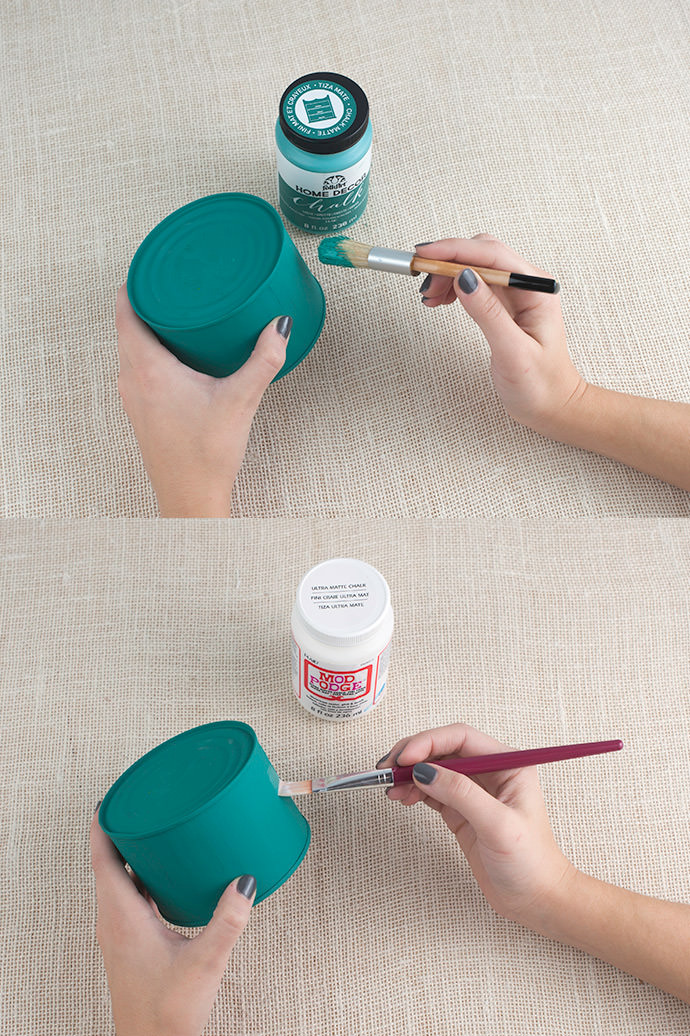
Step 1
Select your chalk paint color. We painted some traditional orange can pumpkins, but we wanted to play around with a quirky color palette that wasn’t traditionally “fall”. After your chalk paint dries, coat your pumpkin base with Mod Podge Ultra Matte Chalk. The Mod Podge will seal the paint on the surface, preventing it from scratching off, while giving it an ultra matte chalk finish.
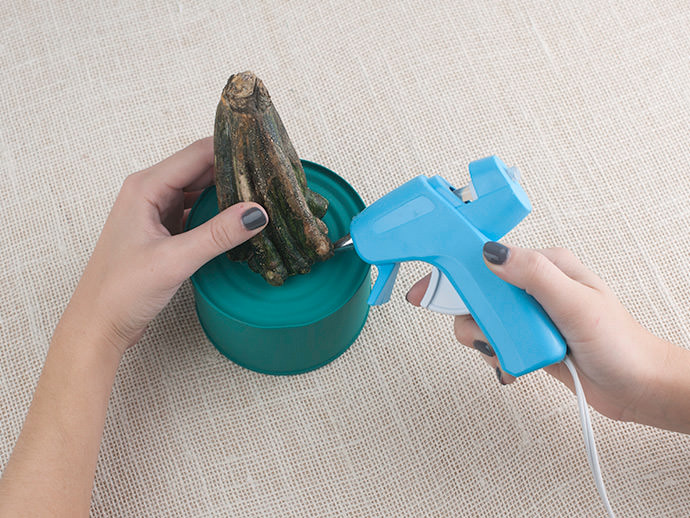
Step 2
Take a recycled pumpkin stem and hot glue the stem to your painted can. We love the added element of the real pumpkin stem, playing around with scale to see which stem should go with each pumpkin base. Set the pumpkin base aside.
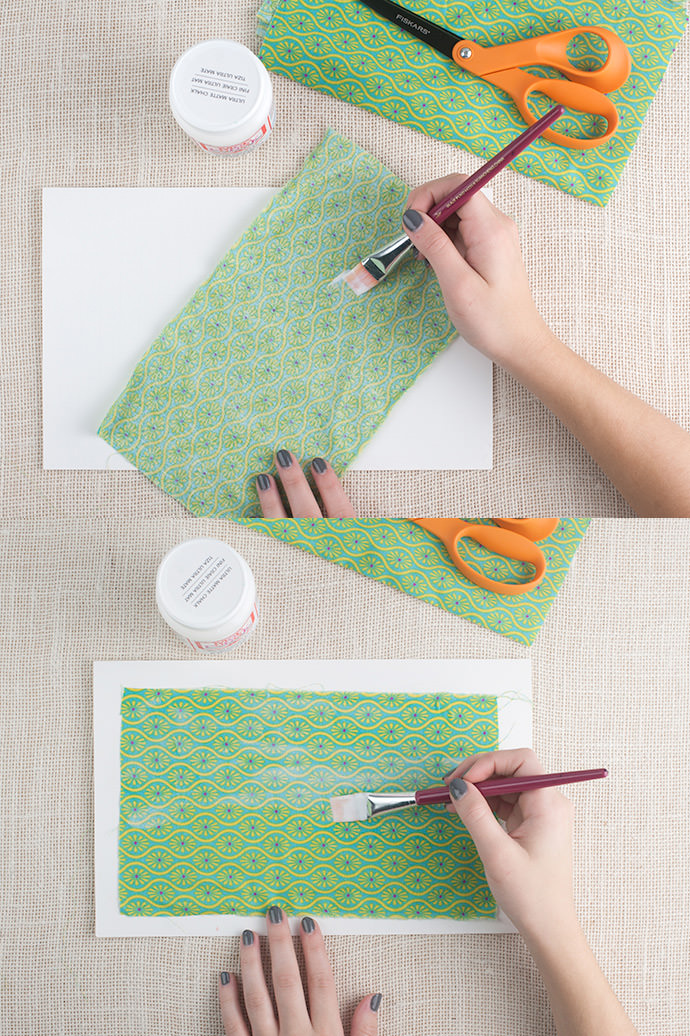
Step 3
Choose the fabric for your pumpkin leaves. Like the pumpkin base, we chose some realistic fabric colors and textures but we also chose some patterned fabric that added some interest and helped tie our whole color palette together. Coat the back of your fabric with a hefty layer of Mod Podge and adhere to your cardstock. Then, coat the top of your fabric with another layer of Mod Podge. This will give your fabric the same finish as your pumpkin and will ensure that fabric stays nice and stuck on the cardstock.
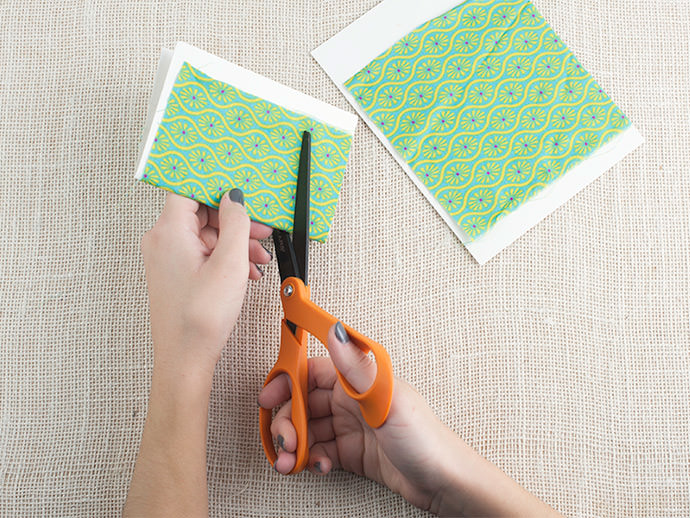
Step 4
Once it’s dry, fold the cardstock in half and begin cutting the pumpkin leaf shape, keeping in mind that by folding it in half and cutting, you’re eliminating the need to cut the shape all the way around and ensuring that it’s even on both sides.
Step 5
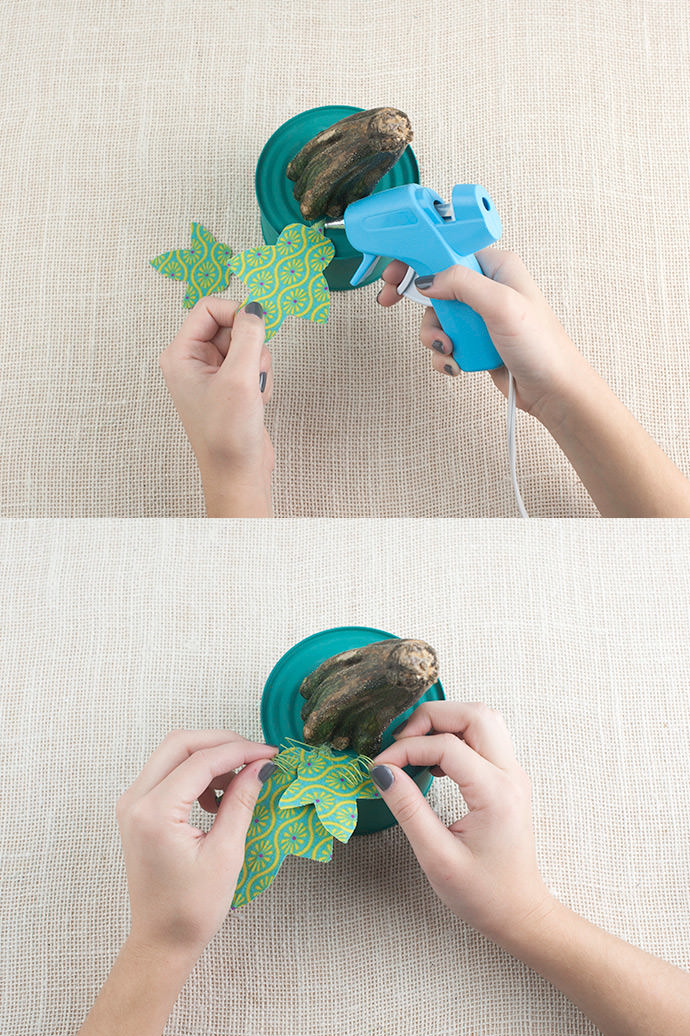
Hot glue your pumpkin leaves onto the pumpkin. Take a few moments to style the leaves, creasing them the way a pumpkin leaf would naturally crease. Next, take your floral stem wire and wrap around a thin, round surface (like a pencil or paintbrush) to create a tendril. Hot glue these in place.
Step 6
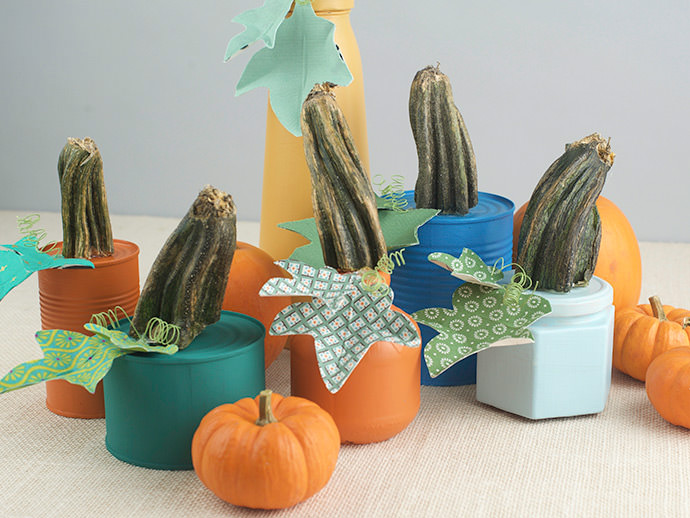
Style with real pumpkins of varying sizes for a festive centerpiece or style on your front porch stoop for a welcoming decorative ensemble!
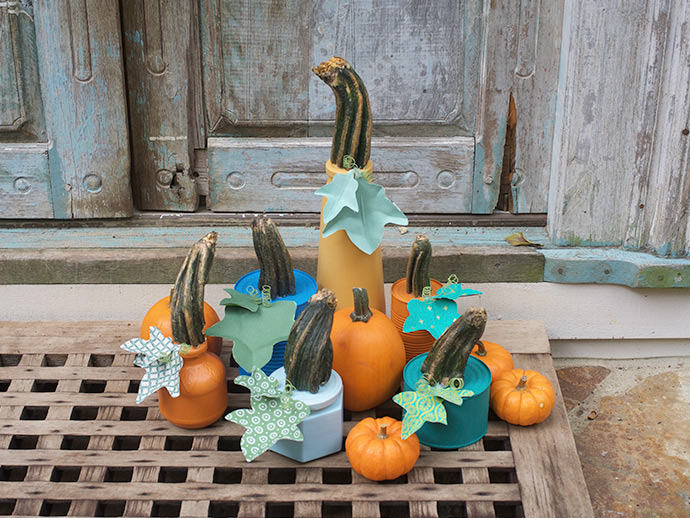
A perk about these up-cycled pumpkins? They have a virtually infinite lifespan! At the end of the season, when you bid your farewell to your real pumpkins and send them to the big garden in the sky, you can simply pack up your up-cycled pumpkins and bring them out next year!
