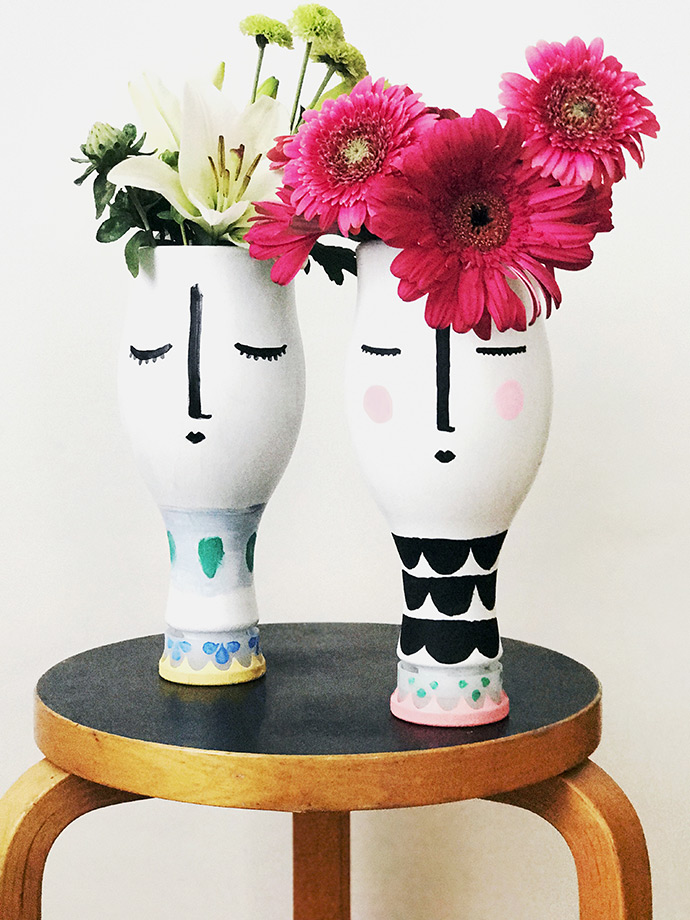
Summer time is definitely smoothie time at our house. After lots of experimentation each of my girls has settled on their signature drink. My oldest daughter’s favorite is an almond milk date shake and my youngest is partial to “vanilla-fruity”—a blend of almond milk, berries, and stone fruit. I am definitely a dark chocolate girl so my favorite is our “black forest”—cacao nibs and frozen cherries need to run to the wedding chapel right now because they are SO good together! All of this yumminess to say that we have been going through a lot of almond milk lately, which means that the empty bottles are piling up so it is absolutely time for a kid-friendly up-cycle!
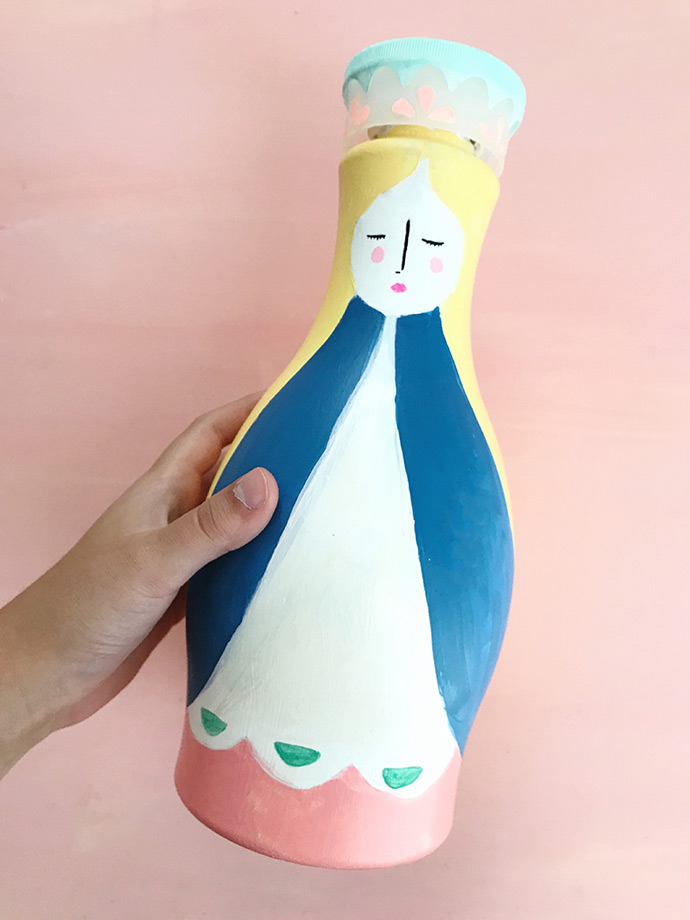
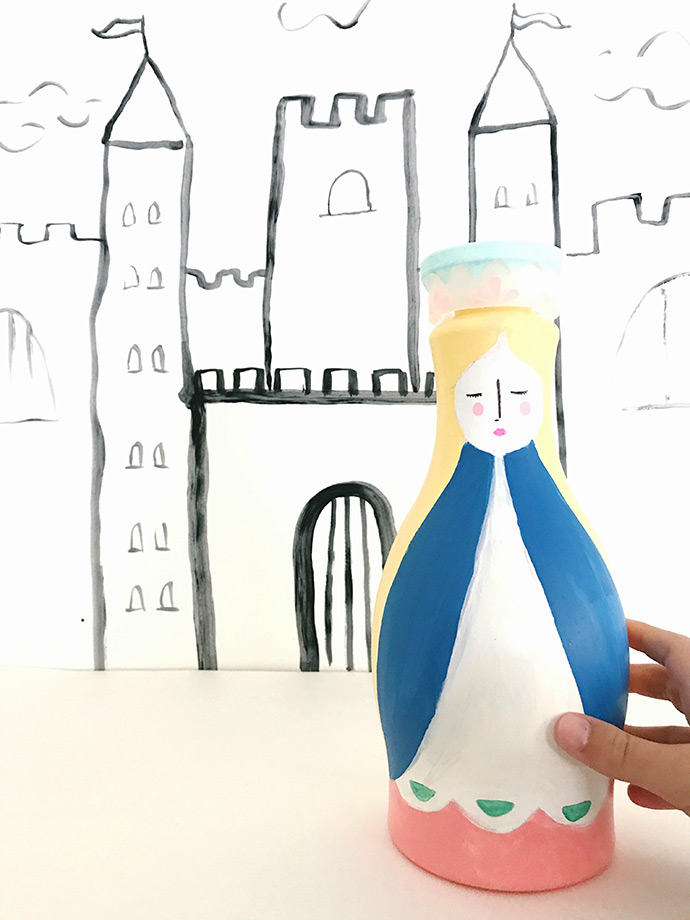
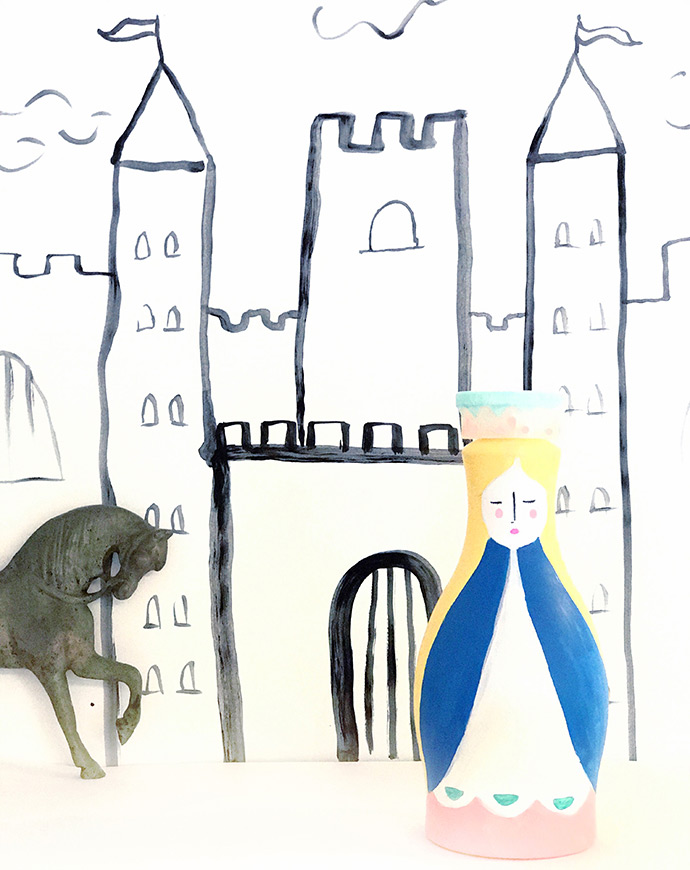
How can you throw a bottle this pretty in the recycling bin? Just look at the details on the cap! My youngest took one look at it and said, “it’s a crown!” To doll or to vase, that is the question. Umm… how about both?!
what you need:
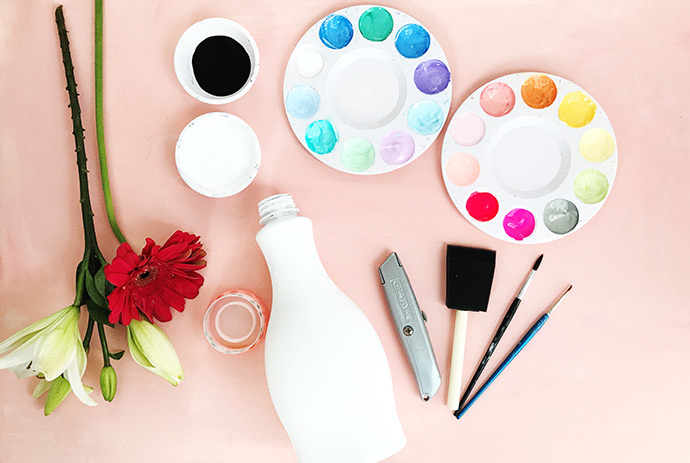
- Empty almond milk or juice container(s) (think plastic bottles with good curves)
- Apple Barrel Acrylic Paint (black, white and assorted colors)
- Paint palette and water cup
- Large foam brush
- 1 small 1 medium brush for details
- Pencil with eraser
- Fine point gel pens: 1 pink 1 black
- Utility knife
- Flowers
how-to:
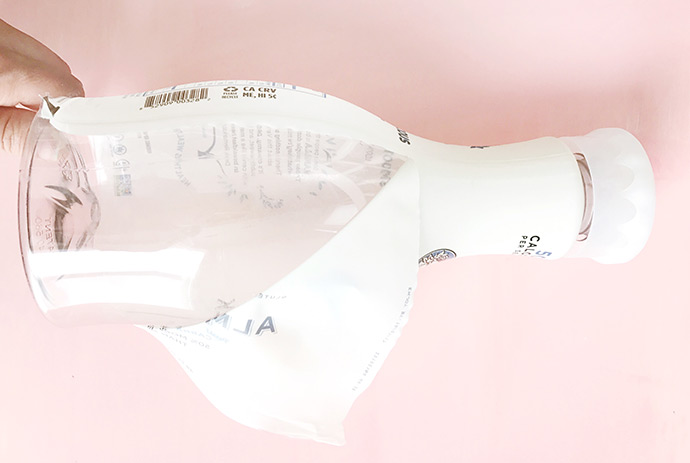
Step 1
After you have fully rinsed and dried your bottle you want to remove all remaining plastic wrap and/or stickers.
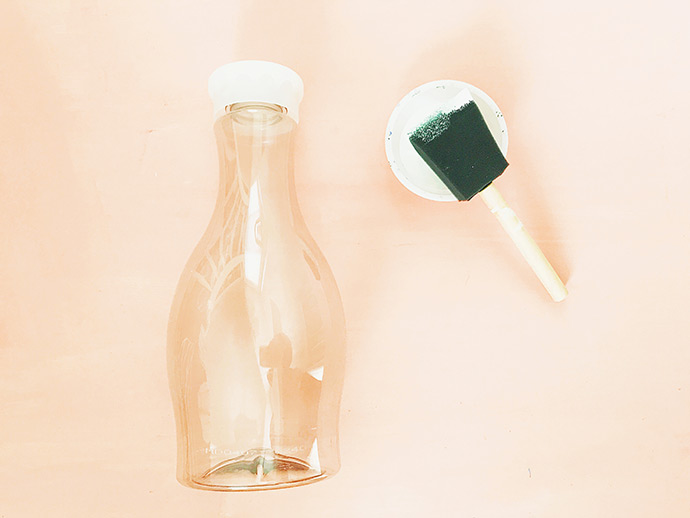
Step 2
Begin painting a smooth, thick coat of white paint on your bottle with your foam brush. Allow each layer to dry for at least 10 minutes before applying the next layer of paint. It took us 3 layers to achieve a velvety, smooth, opaque finish. If you are a grown up crafter and you want to expedite this step you can use white spray paint. If you are crafting with little ones, stick with the foam brush and acrylic paint.
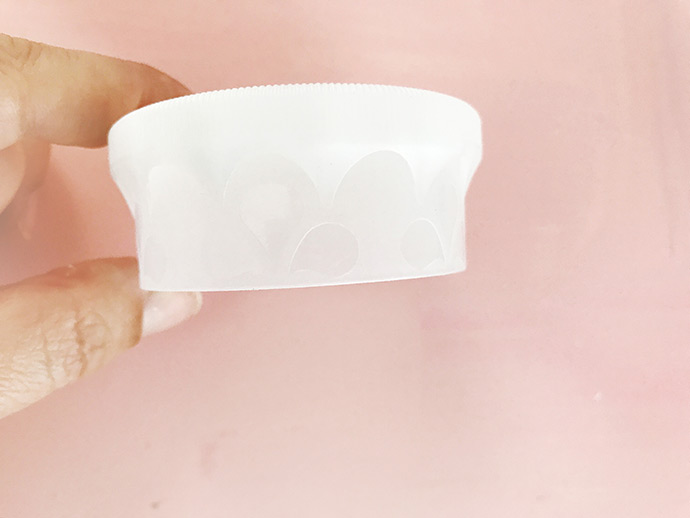
Step 3
While you are waiting for your bottles to dry you can start painting your lids, also known as the “crown”. If you are making a flower vase the lid will become your base.
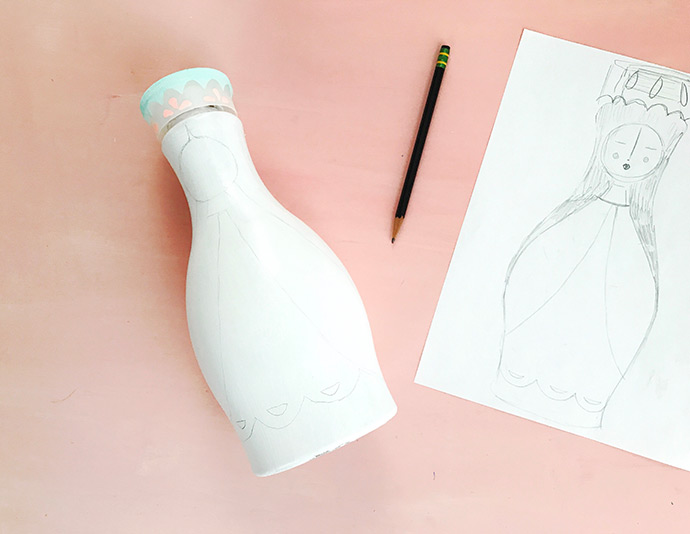
Step 4
For the doll: Make a sketch of your doll design. Once the final layer of paint is fully dry you can start to lightly sketch your design onto your bottle with a pencil.
Step 5
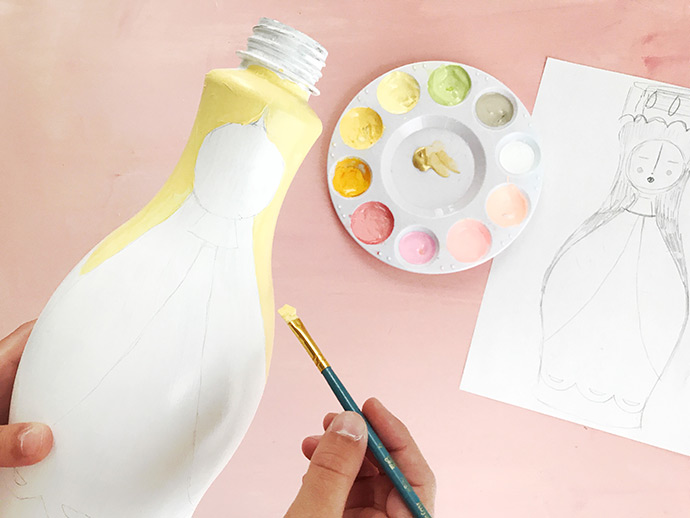
Start painting the large sections of your doll design with bright colors.
Step 6
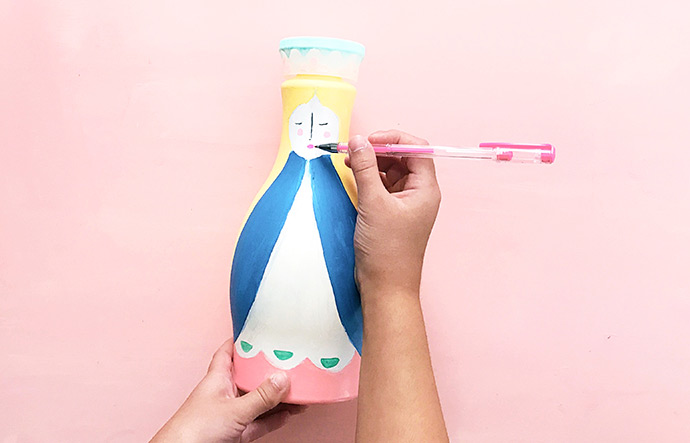
Use a permanent marker to draw your doll’s eyes and nose and a pink gel pen for the lips.
Step 7
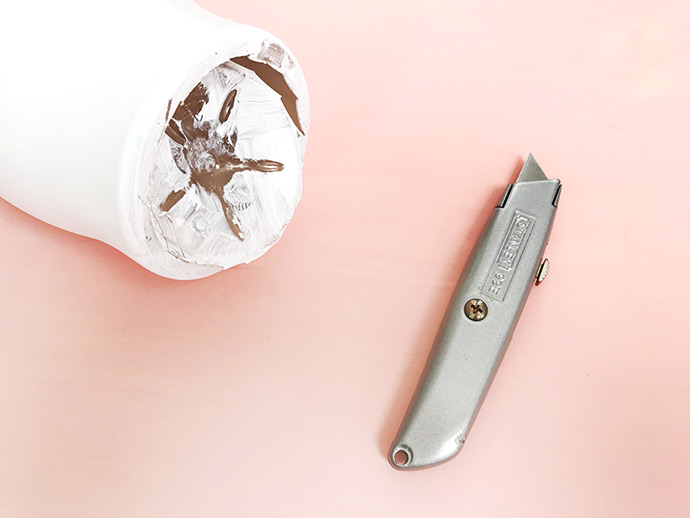
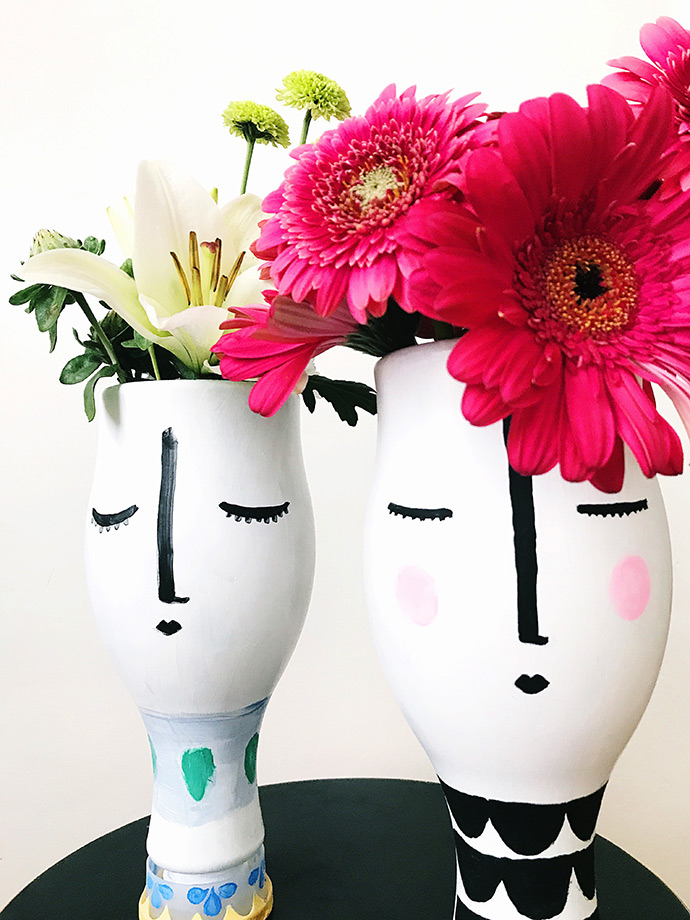
For the vase: If you are making a vase you will turn your painted bottle upside down. The cap now becomes the base of your vase. The bottom of the bottle will become the opening of your vase. Make a slit around the inside edge of the bottom of you bottle. You can either stick with the utility knife blade or cut the remainder with scissors.
Step 8
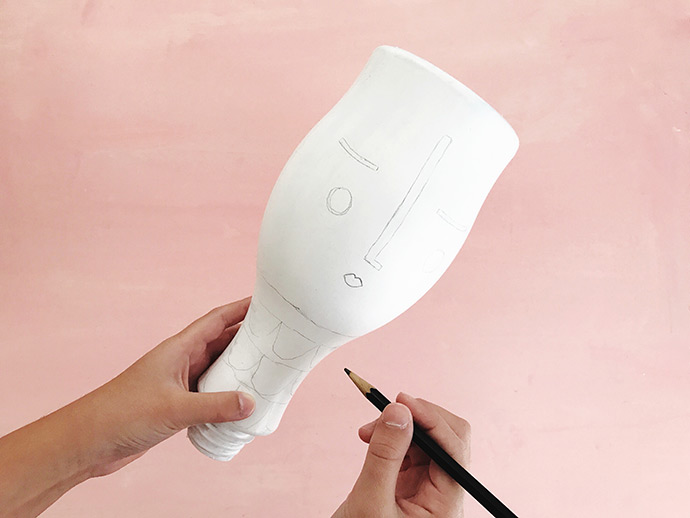
Sketch your facial features onto the widest part of your bottle: two eyes, a nose, and a mouth.
You can find lots of famous examples on the internet. If you are looking for inspiration, Google “Picasso face on vase”, “Jonathan Adler”, or “vintage vase face”.

Step 9
Take a medium brush, add a little water and some black acrylic paint, and paint over your pencil sketches.
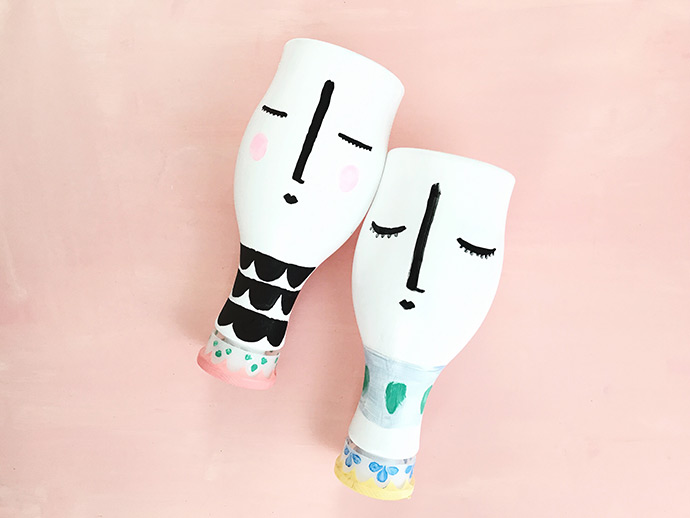
Step 10
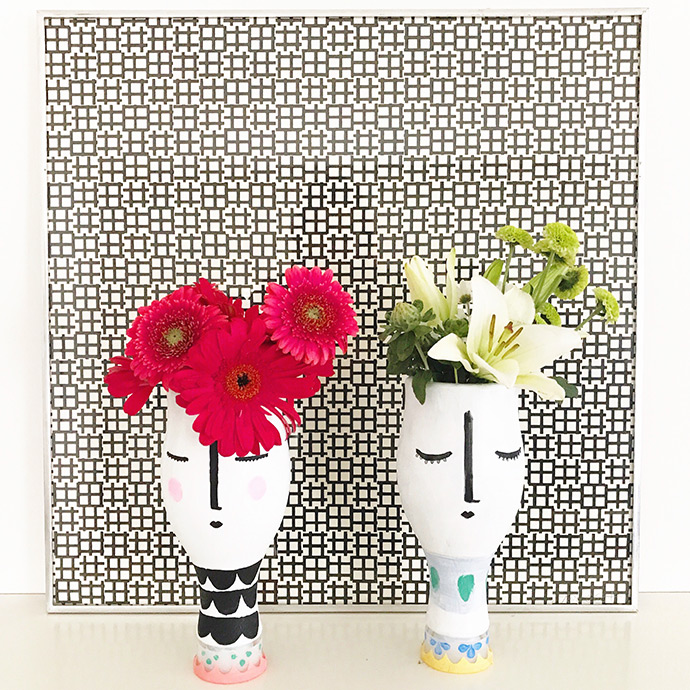
Add details—stripes or a pattern below the face? Maybe some rose cheeks? Eyebrows? Eye lashes?
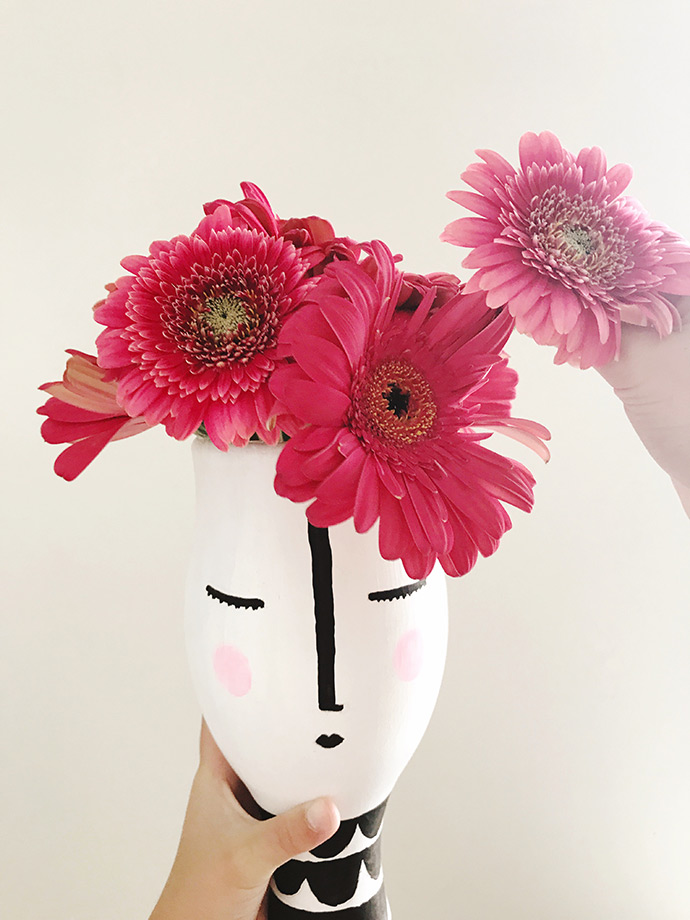
Add some water to your vase and some pretty flowers!
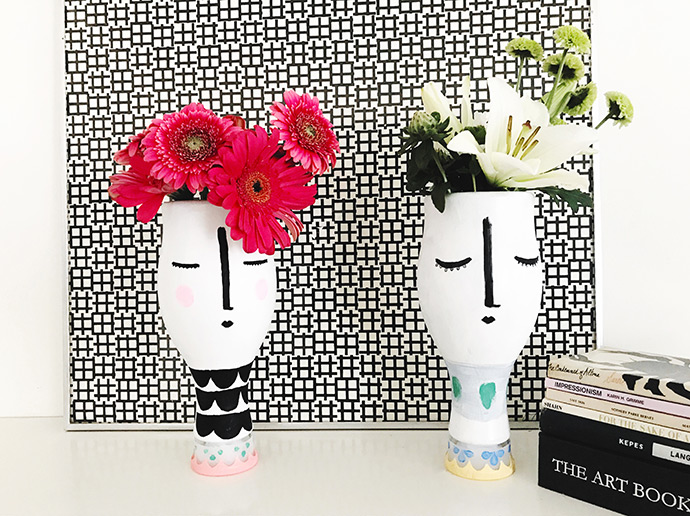
We hope this DIY has inspired you to look at your recycling bin in a whole new light! Stay tuned for more artsy, kid friendly, earth-friendly up-cycles!