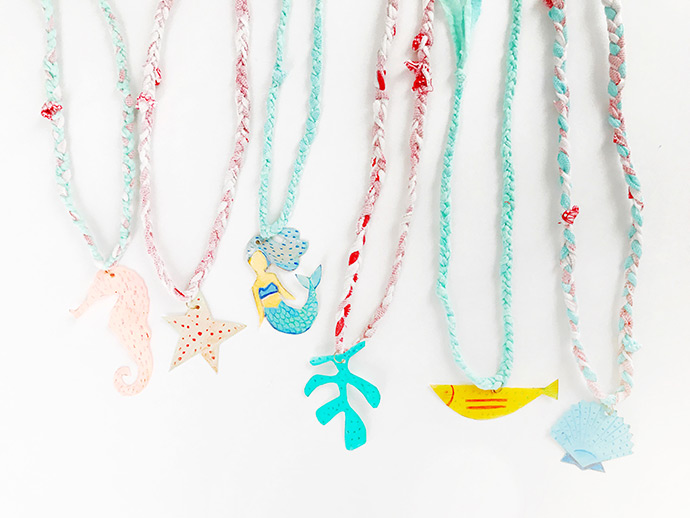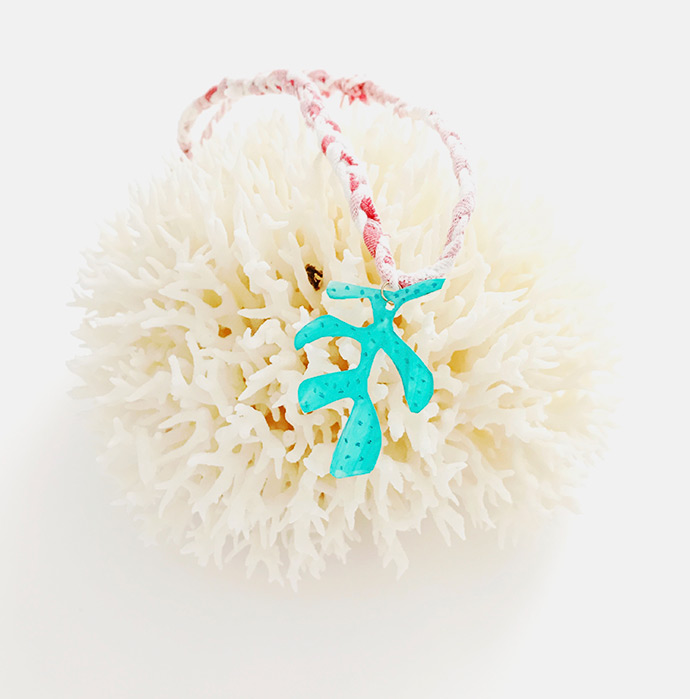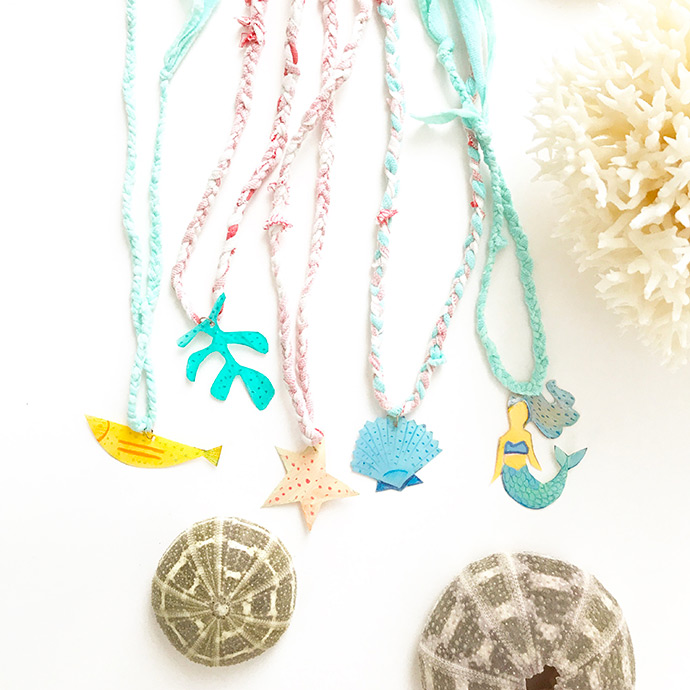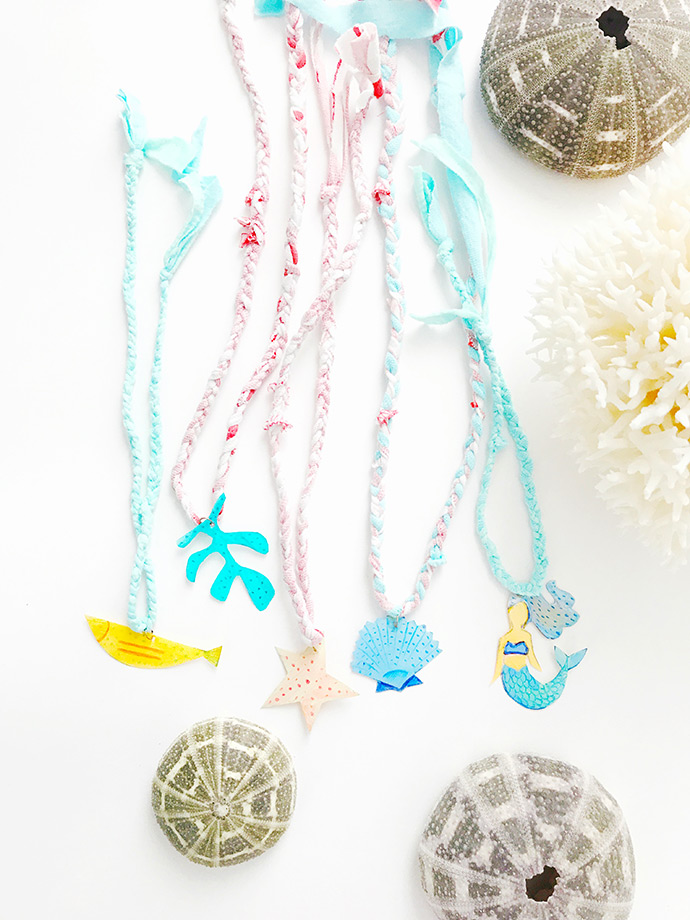
Everyone loves a good makeover story, am I right? Well, this is a story about a couple of tired, stained, worn-out, slightly too small but much beloved kids tees that were headed for the rag bin. They were destined to live out the rest of their days cleaning up whoopsie daisies and spills in the art room. It would have been a life of service, but a glamorous life? Not so much. Luckily for these guys, we had an idea!
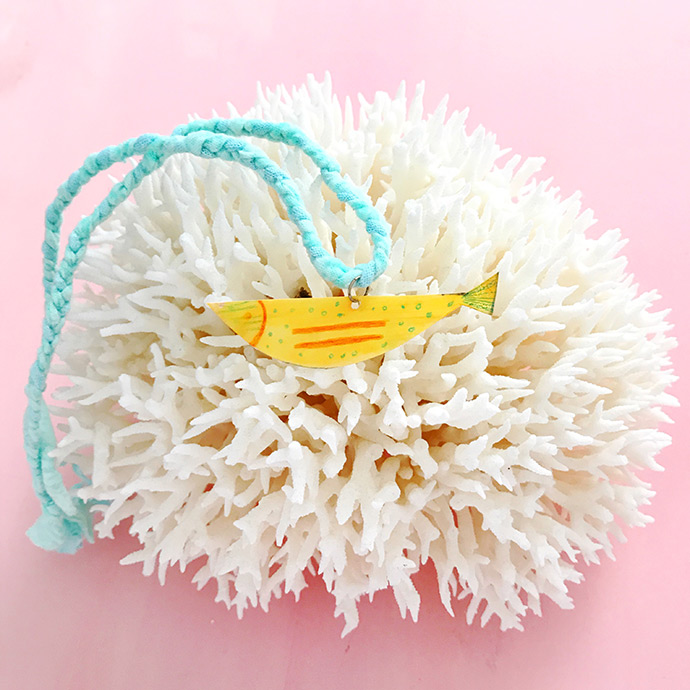
Can you even recognize them anymore? Keep reading to see the whole transformation!

what you need:
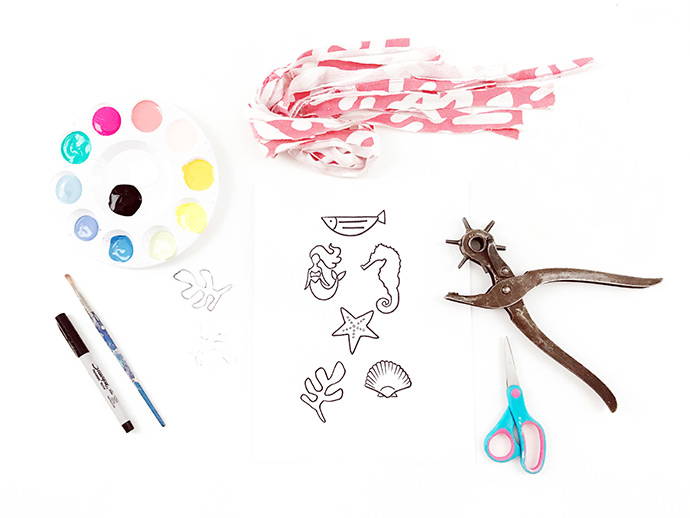
- Under-the-sea charm template
- Old t-shirt(s)
- Fabric shears or sharp scissors
- Clear plastic food containers
- Apple Barrel Acrylic Paint
- Paint palette
- Water cup
- Small brush
- Jewelry hoops
- Tweezers or needle nose pliers
- Masking tape
- Colored pencils
how-to:
Step 1
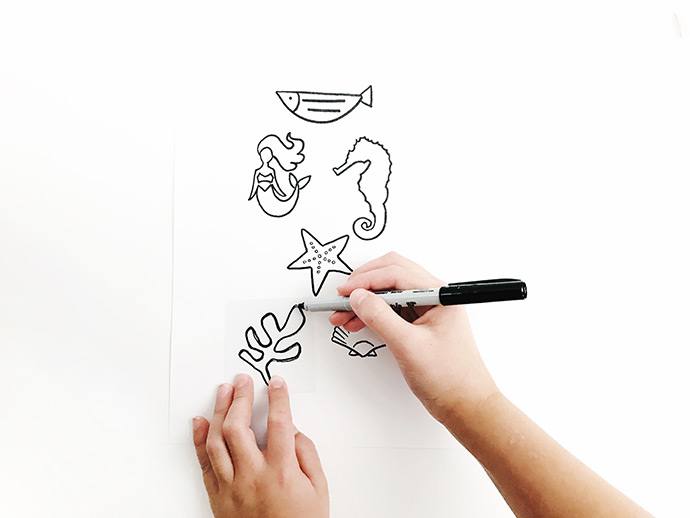
Sketch out your own designs on paper or print out our Under the Sea Charm template.

Step 2
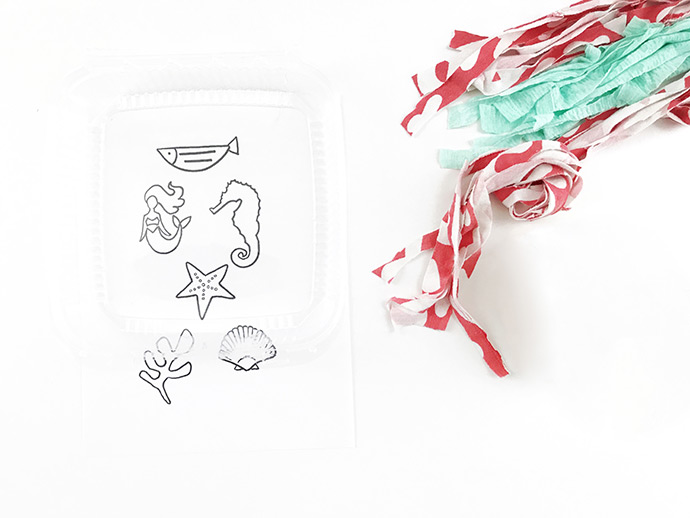
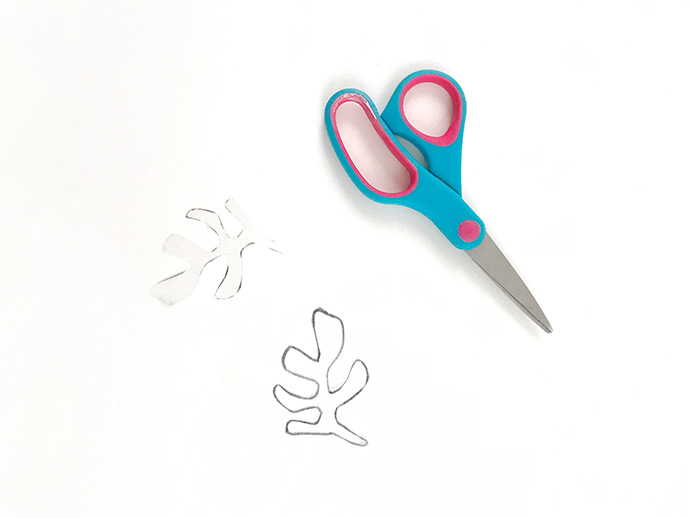
Place your plastic lid on top of your template and trace the design onto the plastic with a permanent marker.
Step 3
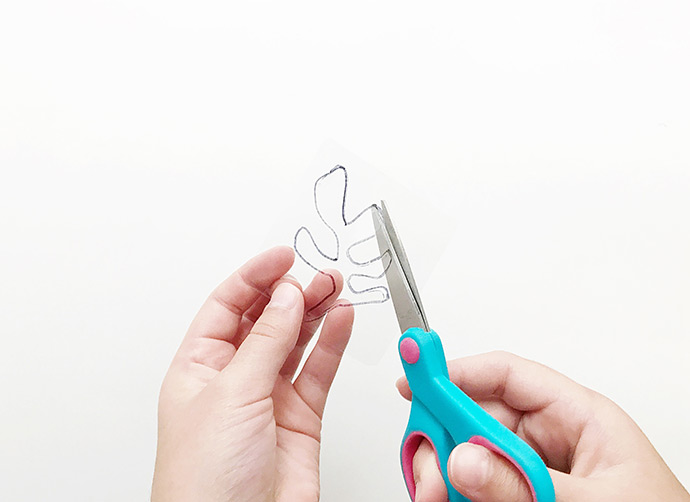
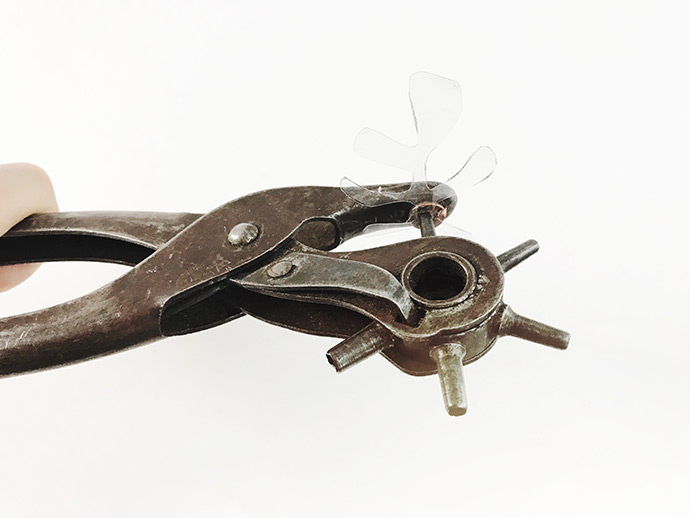
Once you have transferred your designs onto plastic, cut them out. You want to remove as much of the black permanent marker as possible while you cut. Before you paint your charms, punch a small hole at the top with a small hole punch (we used a leather punch and it worked well).
Step 4
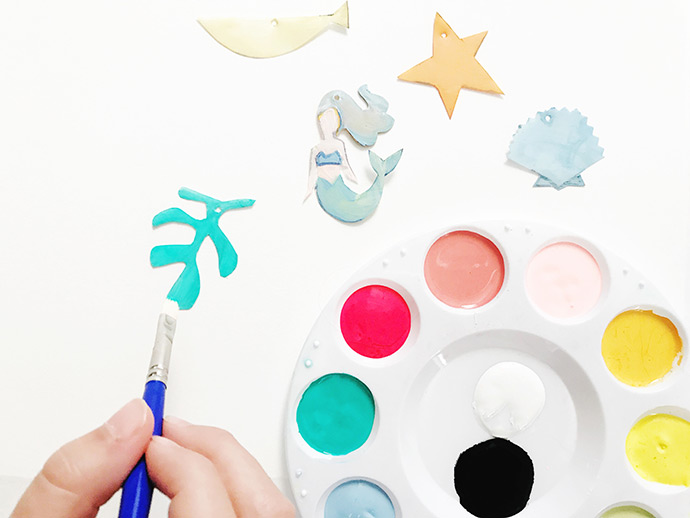
Once you have cut out all of your recycled plastic charms, paint them with acrylic paint. Allow the paint to dry fully before you flip your charms over and paint the other sides. Acrylic paint dries really fast but you can speed up the process by using a hair dryer on the cool setting or a fan.
Step 5
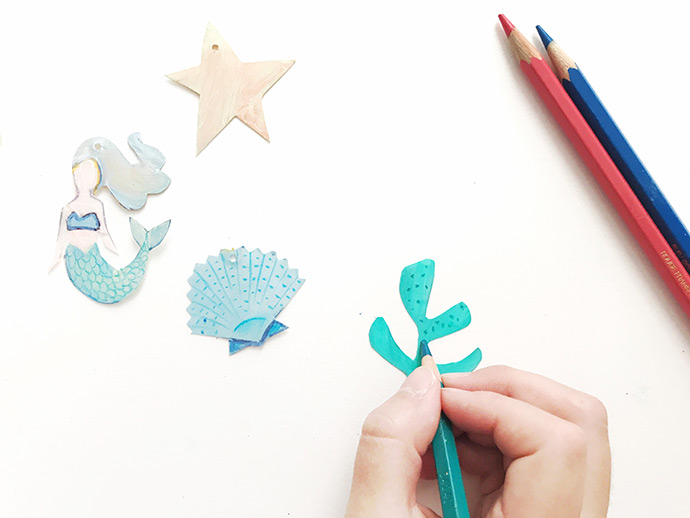
Once both sides of your charms are painted and dried you can add details and finishing touches to your charms with colored pencil.
Step 6
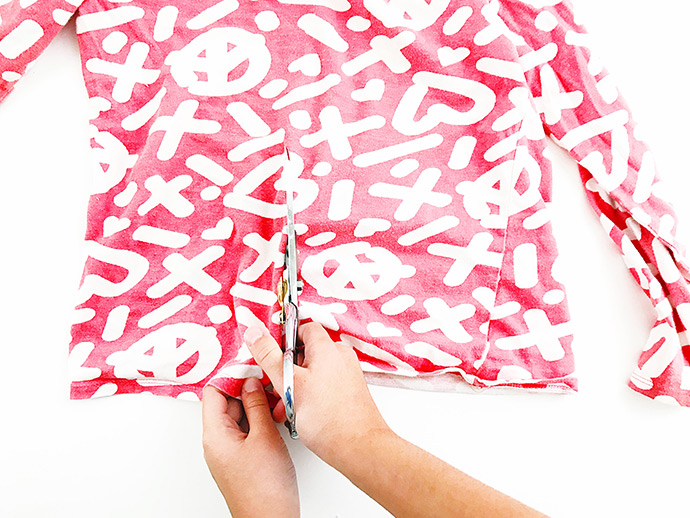
Cut your t-shirt in half, starting on the bottom seam, cutting your way to the top and through the collar. Lay your shirt down flat and start cutting strips of fabric. You are essentially making t-shirt yarn. We cut our strips about 1.5-2 inches wide.
Step 7
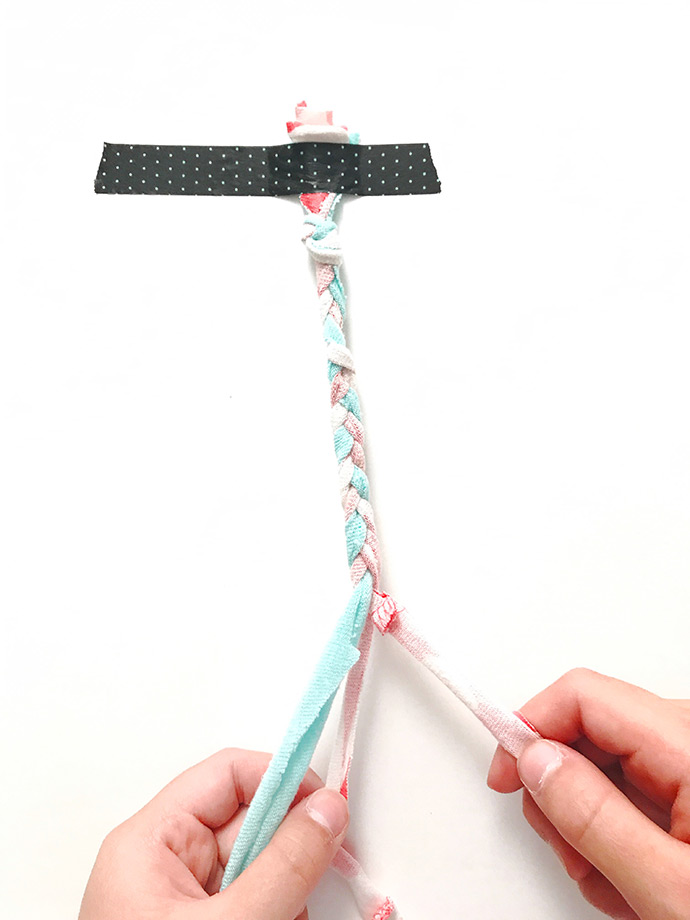
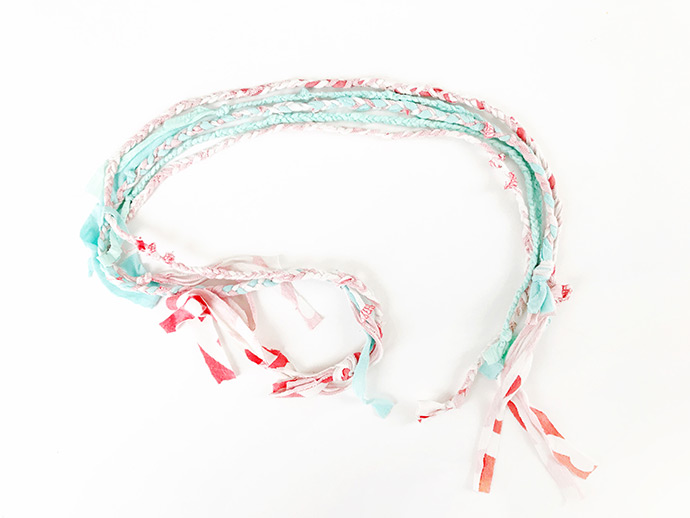
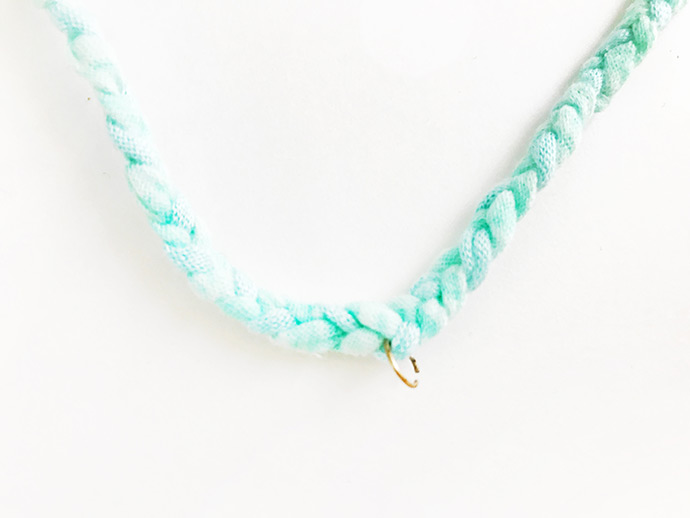
Take 3 strands of t-shirt strips and tie them in a knot. Place this knot on a table top and secure it with a piece of masking tape. Start to braid your strips together – it looks really cool when you mix t-shirt colors and patterns but you can stick with a single color if that is what you have to work with. When you are done braiding the length of your strips, tie the end off with a knot as well.
Step 8
Insert your jewelry loop into your braided necklace.

Step 9
Add your charm onto the loop and then close it by pinching the ends tightly together with tweezers or needle nose pliers. Try closing the loop beyond its original size so the charms are very secure.
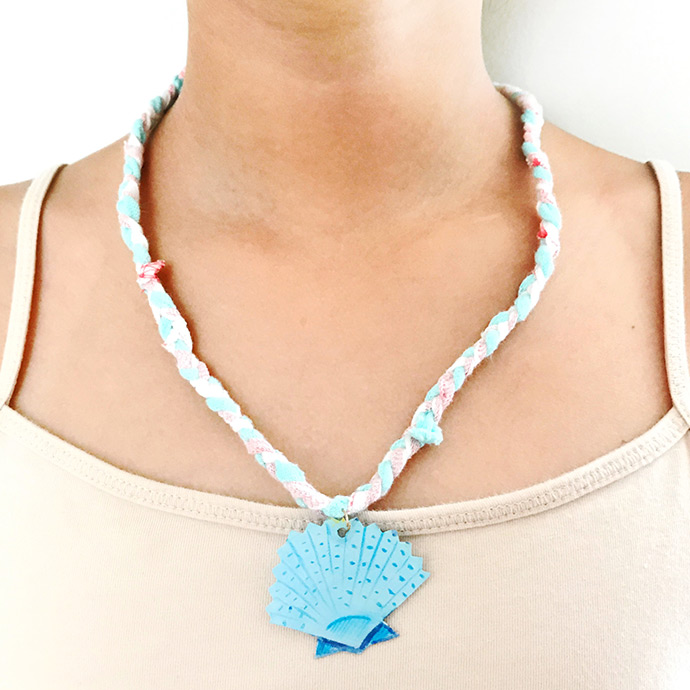
Tie it around your neck and head to the beach!
Talk about a rags to riches story! Happy endings are the best. Stay tuned for part 3 of our kid-friendly, earth-friendly upcycles!
